
 that nature offers herself. From that point on I've always made it a point to research plants and fungi that was in my area and seek it out. With much determination and some luck, I have had some real success finding food stuffs. I've always been very cautious about making sure I've identified things properly before I consumed them and never ind into indulge int too many difficult to identify or similar looking things. It's simply not worth the risk, especially with mushrooms!
So, today I really wasn't on a mission for wild edibles, although I do always keep an eye out. Especially in the Spring when new things are coming up all the time. I was just getting out to give my dog a walk. I take to our local town "open space", where it's simply just that, open space and lots of shrubbery and growth happening. Plus, my dog loves it with all the new smells and things to stimulate a lab that aren't in our back yard. As I was following a path that was slightly carved out by a recent lawn mowing I looked down at a plant that looked vaguely familiar. I thought for
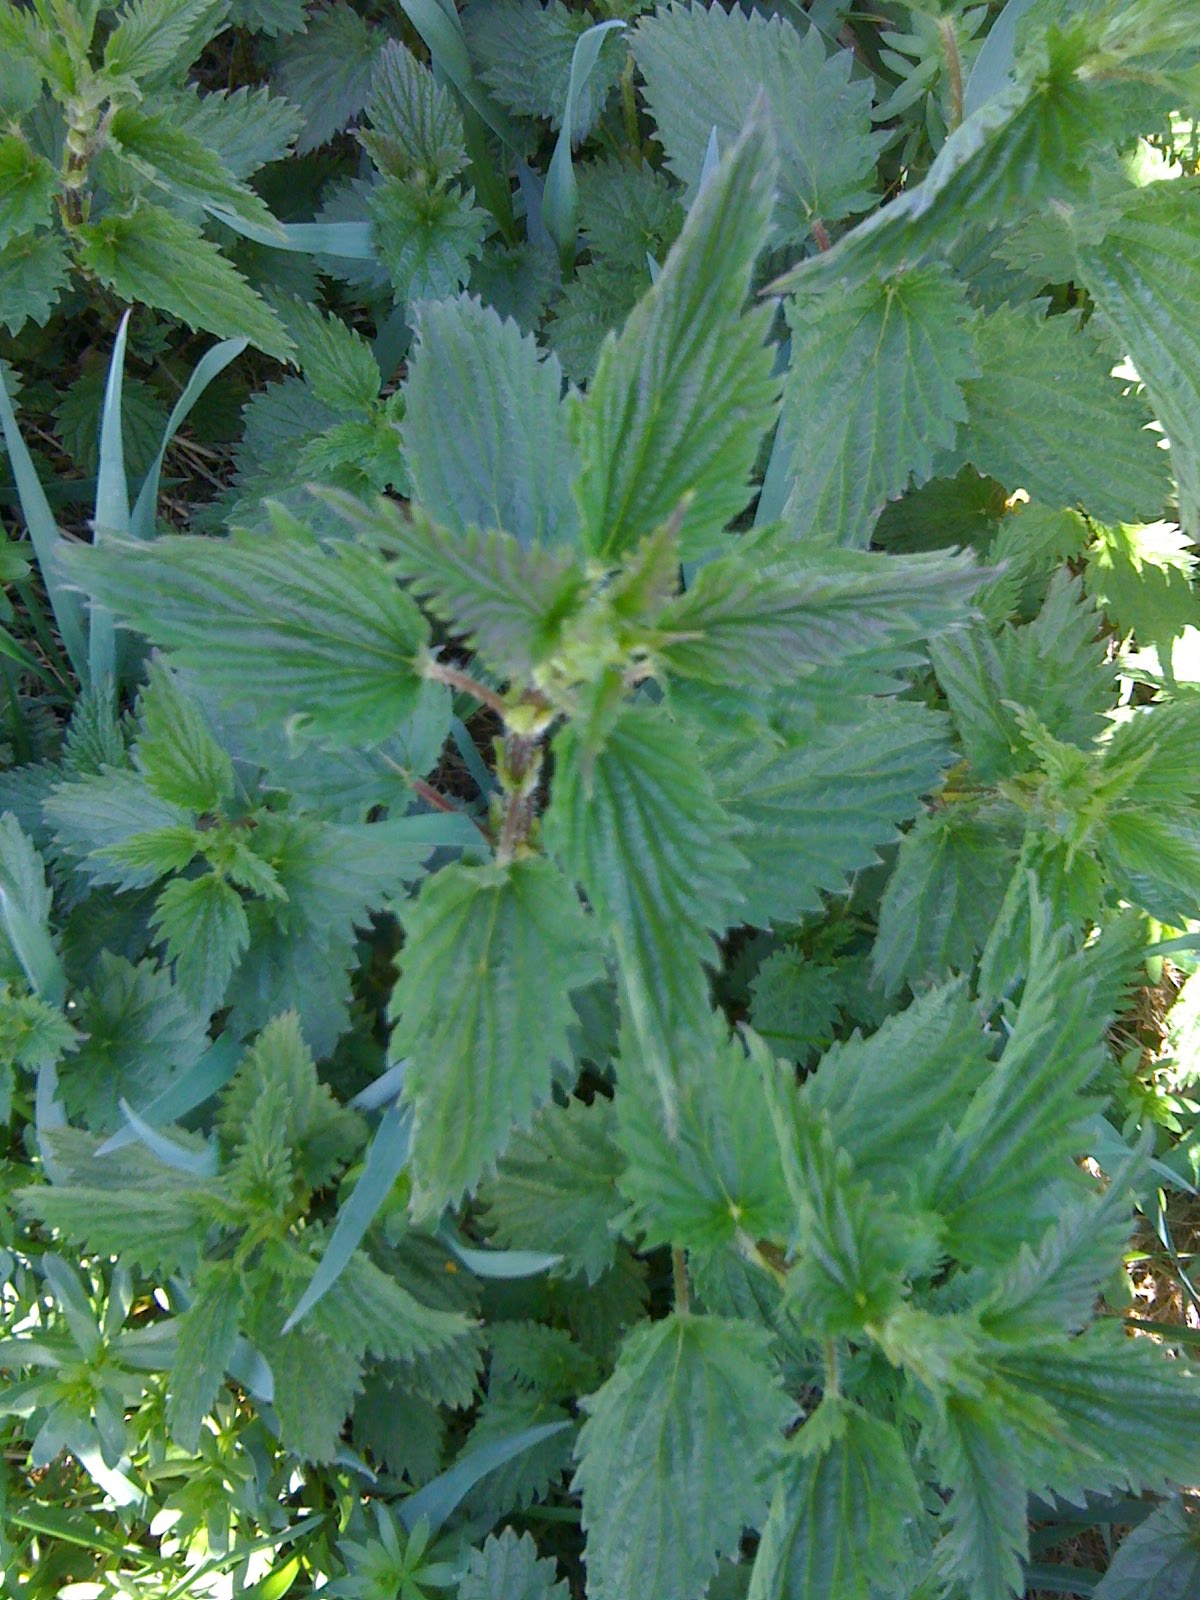 a while and then I decided to take a closer look. I stooped down and examined it and thought it might be a type of mint. Then I noticed the fine little hairs all over it. I found nettles! Stinging nettles to be more precise. When I got back up to my feet I looked around to see a few large patches of them in the area. Then I got quite excited. I knew I was gonna cook something with these things come hell or high water! I went back to the car with Annie (my dog) and I went back home to get the stuff I needed to harvest these little babies. I needed to get some rubber gloves, a little knife and a couple of bags to put them in. I rushed back to go pick them and quickly filled my bag. I had to wear the rubber gloves because of the "STING" from the stinging nettles. They have fine hairs on the leaves but also larger little hairs on the stem that stick you and inject you with a kind of
  formic acid. Kinda like being stung from a fire ant. The sting lasts about 20 minutes or so (for me anyways) and is itchy and a little sore. When I got home I knew exactly where I would find a recipe for nettles. My favorite homesteading-chef-personality of all...Hugh Fearnly Whittingstall. The River Cottage Cookbook is one of my favorites of all-time but I particularly like it for his "hedgerow" foraging and recipes. I found a great nettles recipe for soup which I quickly gathered the ingredients for. I got a new pair of gloves on and cleaned all of the nettles I had and started preparing the soup. In about 25 minutes I had soup! It was quite delicious and was made with some really basic ingredients. I definitely put this up there as a new Springtime ingredient to look out for next year as well. I probably have only a couple of weeks to go before these die off and I'll have to wait for
  next year to do this again. That is one of the beauties of eating seasonally. You have something to look forward to next year and plenty of time to ponder how you could prepare it better the next time. Here's to the nettles of April! Cheers!


